
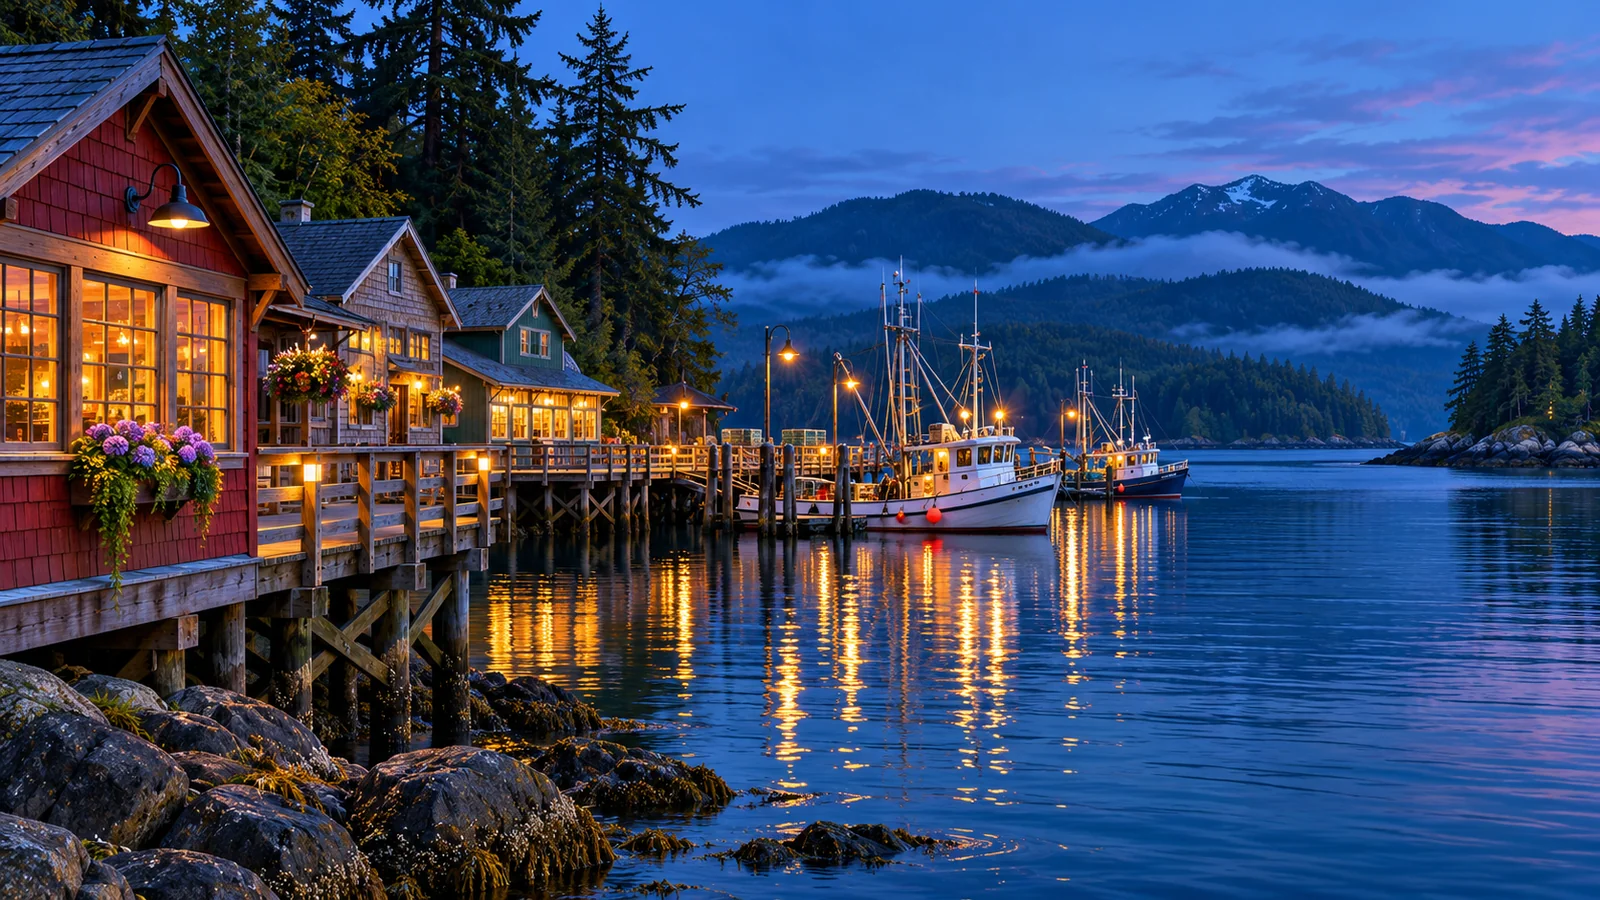
For dusk photography in Campbell River, pick one public waterfront viewpoint and arrive while there is still enough light to check the route back. Discovery Pier offers a downtown setting when access is open. At Tyee Spit, the estuary side gives you a different view of the water and evening light. Look for a clear foreground, then decide whether you want to freeze moving water or let it soften with a longer exposure. The sky can stay interesting after sunset, so leave time for a second set of photographs. Check local access notices and use the tide prediction as context for what you may see from shore.
Choose the viewpoint before the light begins to change
Discovery Pier for a downtown waterfront view
Discovery Pier puts you close to the downtown waterfront. It can suit a composition with the pier structure, water or distant shore in the same frame. If you want to photograph from the pier, check the City's notices first. Maintenance can affect which parts are open. If a section is closed, stay in an open public area and adapt the scene using a view along the shore. You can make a strong photograph without getting to the end of the pier. Discovery Pier visitor information · City traffic and access updates
When the pier is available, look for a position that leaves the path clear. Think about whether the rail belongs in the photograph or you want a view across the water. If your composition calls for a tripod, set it up only where there is room for other users to pass. Shorten or fold it when you move. At dusk it can be harder for someone approaching from behind to see legs extending into the walkway.
Tyee Spit for an estuary-side setting
Destination Campbell River points visitors to the viewing platform on the estuary side of Tyee Spit for sunset. Dick Murphy Park is on Spit Road. The view can give you water, shoreline and changing sky in one composition. Walk the public area while it is still light and choose a place with a clear route back. If the wind is stronger than expected or the available space is busy, keep the session short and use a view you can photograph safely from the public path. Tyee Spit visitor guide · Dick Murphy Park
The exact position of the sun changes during the year. You may see colour across a wider part of the sky even when the sun sets outside the frame. Decide which part of the landscape you want to show before committing to a direction. A cloud bank that covers the sun can make the light softer or leave a strip of colour near the horizon. Give it a few minutes before putting the camera away.
Use the tide to plan the foreground
The Canadian Hydrographic Service publishes tide predictions for Campbell River station 08074. Check the date, local time and predicted height if the amount of exposed shore matters to your composition. The forecast for the station is a planning reference. The view from your exact spot still depends on the shape of the shore and conditions when you arrive. Look at the water from a public path or platform. Avoid stepping onto wet rocks or exposed ground just to make a foreground line. Campbell River tide predictions
Different water levels can suit different pictures. When more shoreline is exposed, you might be able to include a curve of sand or a band of rocks from above. When the water is higher, reflections may come closer to the edge of the frame. Decide whether you want the tide to reveal detail or simplify it. If the actual view doesn't match what you imagined, look for another composition from where you can stand comfortably.
Wind matters for reflections as well. A calm stretch may show a clear outline of a light or cloud. Moving water breaks reflections into smaller shapes and can make a photograph feel more active. A longer exposure can blend some of that motion. Try one frame that keeps texture and another that softens it. Check which one works with the foreground rather than choosing based on exposure time alone.
Work through the changing light
Start with a reference frame before sunset
Make an image while you can still see the shore and tell where the horizon is. Use it to check where bright lights or foreground objects sit in the frame. Check the corners for railings, signs or people you did not notice when you raised the camera. Make a second photograph with a little more room if you might want to crop later. If you're using a phone, try a wide view first and check how it handles the brightest sky.
Balance the brightest sky and the darker shore
As the sun gets lower, decide which detail matters to you. Exposing for a band of colour in the sky may leave the shoreline dark. A silhouette can work when it has a recognisable outline. If you need more detail on the pier or land, try a second exposure and look at what happens to the bright areas. Avoid making every frame brighter as the light fades. Some of the character of dusk is in the difference between lit and unlit parts of the scene.
Stay for a short blue-hour sequence
After sunset, the sky may turn a cooler shade while waterfront lights become more visible. Blue hour is a useful name for this change, and its duration and strength vary. Make a sequence a few minutes apart from the same position. Review how the sky and lights balance as the scene gets darker. A view that felt flat before sunset may work once the lights are bright enough to stand out.
Pick settings for how you want the water to look
For a handheld frame, start with a shutter speed that holds the scene steady in your hands. If you include moving people or a passing boat, you may need a faster exposure to keep them sharp. Take a test and zoom in on a fixed part of the scene. If the whole image is soft, find a more stable position, try a faster shutter or let the camera raise ISO. A little noise can be easier to work with than an important detail lost to blur. Nikon shutter speed guide
A tripod lets you try longer exposures when it can be used without blocking access. Start with a short exposure for comparison, then experiment with a second or several seconds if the scene and light allow. Water, clouds and passing lights will each move differently. A slower shutter might smooth out distracting ripples, but it can also blur a boat you wanted to show clearly. Use a timer or release method you know how to operate and check the resulting frame before making a longer sequence.
If you're using a phone, try its standard camera mode before a longer low-light mode. A phone that combines several frames needs a stable position and enough time to complete the capture. Moving subjects can look different from the result you expect. Make a normal frame as a backup, especially when there are people or boats in the composition. Choose a position where you can hold the phone securely and put it away before walking.
Make the walk back part of the plan
Save the route to your viewpoint and back before you go. Bring a layer for the waterfront and a light for your belongings if you expect to finish after dark. Keep the light directed where you need it and consider other users. Pack smaller items before you move from your position so you can pay attention to the path. Check whether you have a second place to go if the original route is unavailable or crowded.
If you plan to visit both Discovery Pier and Tyee Spit, use separate sessions or choose a primary location. The sky can change while you're travelling between them. Spending the whole transition getting to another viewpoint can leave you with little time to make photographs. If one position works, stay with it and look for changes in light or reflections. Use another evening to try a different location and compare the results.
Consider an evening on the water on another day
A boat trip gives you a different angle from a shore-based session. It also moves and follows the captain's plan, so you won't be able to fix a tripod at the same position and wait for the light to change. Eagle Eye lists a sunset tour from Campbell River. Check availability for your date and ask about conditions and the vessel if you are bringing a camera. Treat the trip as an evening on the water with changing views. Keep the steady blue-hour composition for a separate session ashore. Eagle Eye sunset tour
Try a short sequence you can finish in one place
Begin with a wide frame that includes the sky, water and one feature that makes the setting recognisable. At the pier it might be part of the structure. At the spit it might be the line where land meets the estuary. Look for a clear foreground that you can include without leaving the public area. If the horizon appears tilted because you were aiming quickly, make a second frame with more room around the edges.
Next, make a detail of the changing light. Watch for colour on the water, a silhouette or the first lights across the shore. If you can return to the same framing a few minutes later, compare what has changed. Keep your gear simple so you can make the second frame before the light shifts again. Once you have the pictures you want, pause and look at the scene without the camera.
Review the sequence after you are somewhere warm and well lit. Check whether the exposure made the shoreline easier to see or whether a darker frame better reflects the evening. Keep the wide reference image if you want to pair it with a closer view.
Frequently asked questions
How early should I arrive?
Arrive early enough to check access, choose a viewpoint and make a test photograph before the light fades. If the place is unfamiliar, allow additional time to walk the route while it is light. Check sunset for your date and judge the scene when you arrive. The best colour may come before or after the published time.
Can I take useful dusk photos without a tripod?
Yes. Start with the remaining light and make a wider handheld frame. Use a shutter speed that keeps the scene steady and review a test image. If the light gets too low for the picture you want, put the camera away or switch to a simpler view with stronger light.
Should I choose high tide or low tide?
Choose according to the foreground you want. Lower water may reveal shore features, while higher water can put more of the frame in open water. Check the station prediction and use what you can see from the public viewpoint when you arrive. Water level is one part of the scene.
What if the pier has a closure?
Check the current City notice and use a legal public viewpoint with a clear path. Change the composition to work from the available position. If the closure affects the picture you planned, choose another waterfront spot or return when access is confirmed.
Pick a viewpoint, check access and arrive while you can still see the shoreline. Make one frame before sunset and one as the lights begin to show. Compare them later to see which moment gives the water and shoreline the most character.