
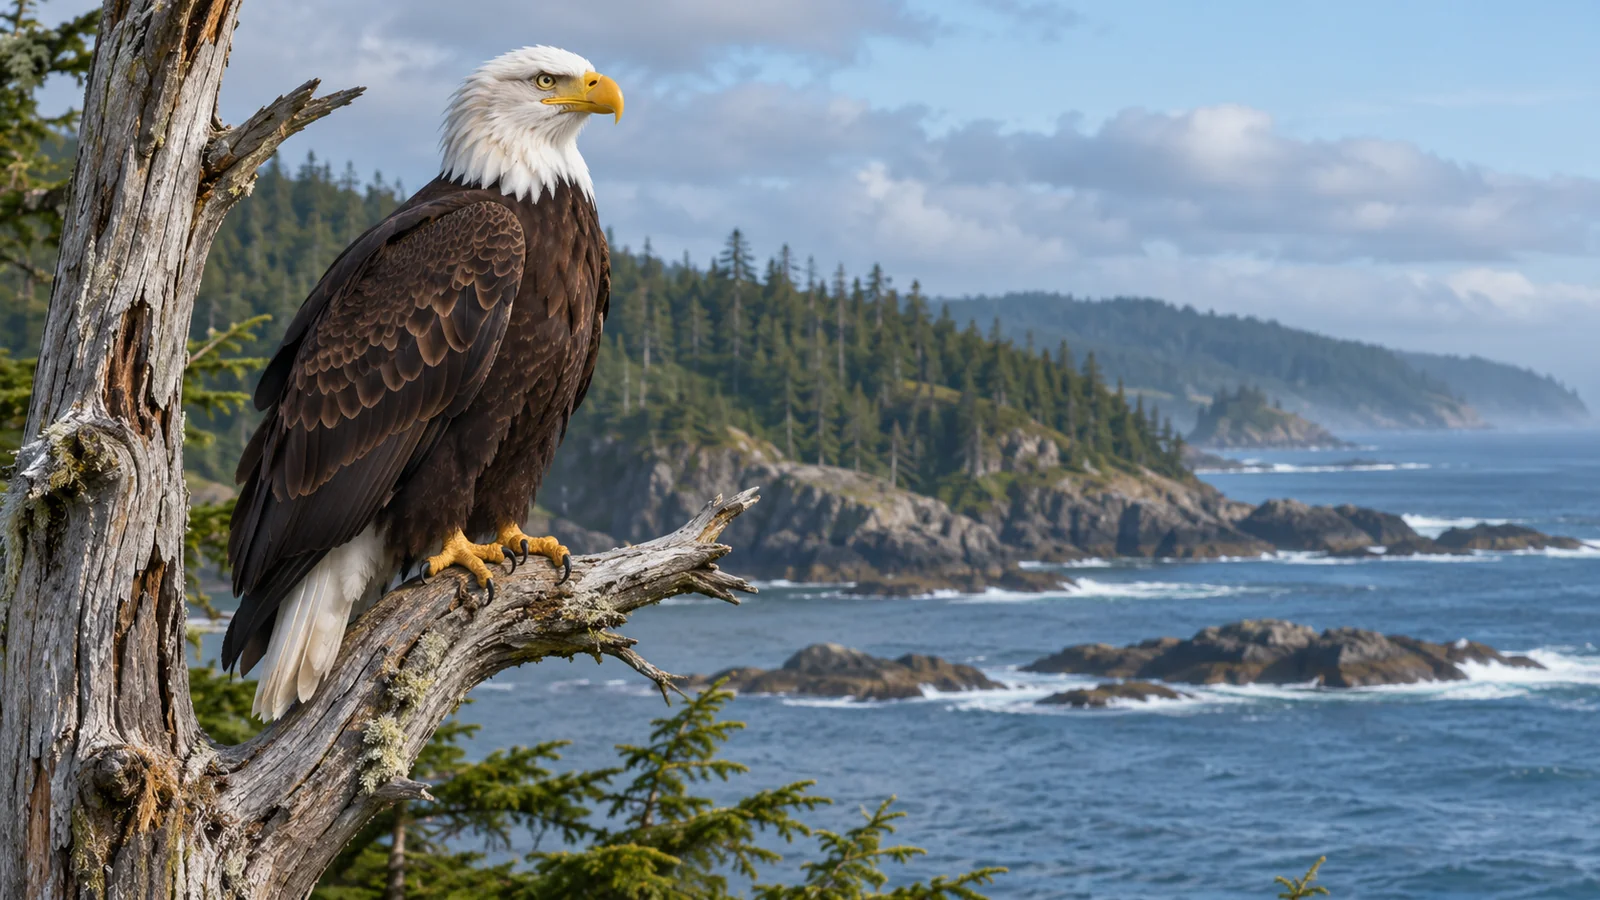
To photograph bald eagles from a wildlife boat, start with a view wide enough to follow the bird and a shutter speed fast enough for its movement. For a flying eagle in good light, try around 1/1600 second as a starting point, then adjust if wing tips still blur or the light changes. Use continuous autofocus and a short burst when a movement develops. From a moving boat, finding the eagle and keeping it in the frame often matter more than using the longest lens. Listen to the crew and use the distance and angle available to you.
Set up for both perched and flying birds
A zoom gives you a way to find a distant eagle against the shoreline and tighten the composition once you can follow it. If you start at the longest end, it can be difficult to tell which tree, rock or patch of sky the bird is in. Begin wider and look for a landmark beside the eagle. Once it's in view, increase the focal length if you can still follow it comfortably. If a bird moves, leave room in front of it and around the wings.
Practise moving the camera without taking it off the subject. On shore, pick a distant bird or another moving object and follow it through a wider frame. Then try the same at a longer setting. Notice the point where you start to lose the subject. That is useful information on the boat, where your own position may change between frames. A more forgiving focal length may give you more usable results.
Decide whether you want a still portrait, a flight sequence or a view that shows the bird and the landscape. A perched eagle may give you time to compose, but a bird that takes off can change the scene immediately. Start with settings that will handle a little more movement than you expect. If the bird remains still, you can slow down and work on the composition. Nikon guidance on photographing motion
Use shutter speed to control which movement is visible
A flying eagle's body can look sharp while its wings show blur. If you want to freeze a wingbeat, try a faster shutter and compare the next frames. Around 1/1600 second is one starting point in good light. A bird diving or flaring its wings quickly may benefit from a faster value. A perched bird in steady conditions may let you use a slower shutter. The boat and your own movement still matter, particularly at a long focal length. Nikon shutter speed guidance
A fast shutter gives the camera less time to gather light. In shade or under cloud, you may need to open the aperture or raise ISO. If your camera supports shutter priority and auto ISO, check how the combination behaves before you sail. You can make a test shot across the water and look for detail in the darker parts of the image. Check the settings again when you go from a bright sky to a darker shore.
If you want a photograph with motion, you can allow some wing blur intentionally. First get a frame you're happy with at a faster speed if the chance is there. Then try a slightly slower speed and follow the bird smoothly. Review whether the head and body still look clear enough for your picture. On a rocking boat it can be difficult to distinguish intentional blur from camera movement. A few frames with different settings can help you learn what you prefer.
Keep autofocus on the bird when backgrounds change
Continuous autofocus can help when a bird moves closer, farther away or across the view. Against a clear sky, the camera may find the bird easily. Against trees or a textured shoreline, it may choose the background. Try a focus area you can keep on the eagle, and check whether it is following the head or body. If your camera offers bird detection, test it and learn how to switch to a simpler focus area if it loses the subject.
When several birds are visible, pick one to follow. If you move the focus area from one to another during a burst, you may end up with few frames that show either one clearly. Decide whether the picture is about the single bird or the group. For a group, leave enough room to show their spacing and position. You can tighten the frame once you know what is happening.
Use a short burst when the posture or direction changes. Pressing the shutter as the bird turns or lifts its wings can give you several choices. Release it when the movement is over. That leaves time to find the next bird and reduces the number of near-duplicates you have to sort later. Check a sequence once the encounter is over and see which focus choice worked against that background. Nikon continuous shooting tips
Expose for the light on the eagle
An adult bald eagle's white head can lose detail in bright sun even when its darker body is well exposed. Take a quick test frame and review the bright feathers. If they appear as a flat patch, try reducing the exposure a little and look again. If you are photographing a bird against a bright overcast sky, the body may be very dark instead. Decide whether you want a silhouette or more feather detail and adjust based on that goal.
A younger bird can have a different pattern and may be less obvious against a dark background. Look for a clear view of its outline and use the light as it changes rather than trying to identify it from a single colour patch. Ask the naturalist if you aren't sure what you're looking at. Keep a wider frame with surroundings if it helps you remember the encounter or describe it later.
Check what is happening around the brightest part of the frame. Sun glint on water can be more prominent than a bird flying above it. If a small change in framing keeps the glint out of view, try it from your seat. If you would need to move, follow the crew's instructions. You may have a useful image in a different direction without needing to change position.
Choose the composition that fits the encounter
A bird in the trees
Find the eagle before raising the camera, then use a nearby branch or gap to orient yourself. Keep enough of the tree to show how the bird is perched. If foreground branches obscure its face, watch for a different angle as the boat changes position. A photograph with some habitat can work even when the eagle is small. You can make a detail frame later if a clearer view appears.
A bird crossing open water
Give the eagle room to move into the frame. Start following it before taking the first picture. If it dips or turns, keep the wings in view and take a brief sequence. You may capture a frame in which the water and the bird's posture make the direction easy to see. If it flies out of view, lower the camera and find it with your eyes before trying again.
Several birds near the same area
Try one wide frame before isolating individuals. A group can change its spacing quickly. Look for clear separation between birds and an uncomplicated background. If one eagle becomes the main subject, follow that bird for a few seconds. The wide frame tells you something about the whole encounter, while the closer one shows the detail you noticed.
Keep the photograph within the crew's viewing plan
Leave space for other passengers and ask when you can move. Use the camera from where you have been asked to sit or stand. If a bird seems too far away for a tight photo, use the available view or make an image of it in the landscape. Audubon recommends putting the bird's welfare first and avoiding actions that disturb it. Skip any shot that depends on making a bird move, and leave a nest or resting bird undisturbed. Audubon's bird photography ethics
For a Campbell River outing focused on eagles, review Eagle Eye's Eagle Show tour page and check the departures offered for your date. Wildlife and conditions vary. Ask the guide what the birds are doing and where you can look from your position. Bring equipment you can hold and put away easily. If you plan to bring a long lens or more than one body, check space and seating for the vessel you are considering. Eagle Eye Eagle Show tour · Eagle Eye boat options
Review a flight sequence for one useful adjustment
If the tree behind the bird is sharp and its head is soft, look at where the focus area was when the shutter fired. The camera may have found the tree after the bird moved out of the focus area. Start slightly wider on the next pass so you can keep the focus area with the eagle for longer. If the whole frame shows a directional smear, consider whether the shutter was fast enough for your own motion as well as the bird's.
If the focus is good but the photograph feels cramped, look at where you started the burst. You may have waited until the bird was already near the edge. Try picking it up a little earlier and following it through the centre of the frame. Leave room in front of it and around the wing tips. A wider frame also gives you a chance to include reflections or another bird that was too close to the edge to see at the time.
When several frames work, choose the one that tells you something about the movement. One frame may show the wing position clearly. Another may show the bird's direction against the shore. Keep both if they show different things. You can compare exposures and crop choices once you're back on land.
Frequently asked questions
Should I buy a longer lens for this trip?
Start with the lens you already use well. A longer lens can show more detail when the bird is far away, but it also gives you a narrower view and can make a moving bird harder to find. If you borrow or rent something, practise before you sail and check that you can stow it securely.
Why does my camera keep focusing on the trees?
The background may offer clearer detail than the bird. Try a smaller focus area and place it on the part of the eagle you can see clearly. If the animal is moving too quickly to hold in a small area, widen the frame and try following it again.
Can I make a good image if the eagle is far away?
Yes, if the photograph gives the bird a clear place in the scene. Include the shoreline, water or sky and look for a position where the outline is visible. Check that the bird is recognisable at the size you intend to share. A modest crop can help without making the image depend on fine detail.
When should I review the photographs?
Wait for a quiet stretch after the encounter and follow the crew's directions about using your gear. Look for whether focus stayed on the bird, whether the exposure kept important feathers visible and whether the wings have room in the frame. Make one useful adjustment before you start again.
Before you book, check the departure, vessel and space for your gear. Then practise finding a bird in a wider frame and changing settings without taking your attention off the scene.