
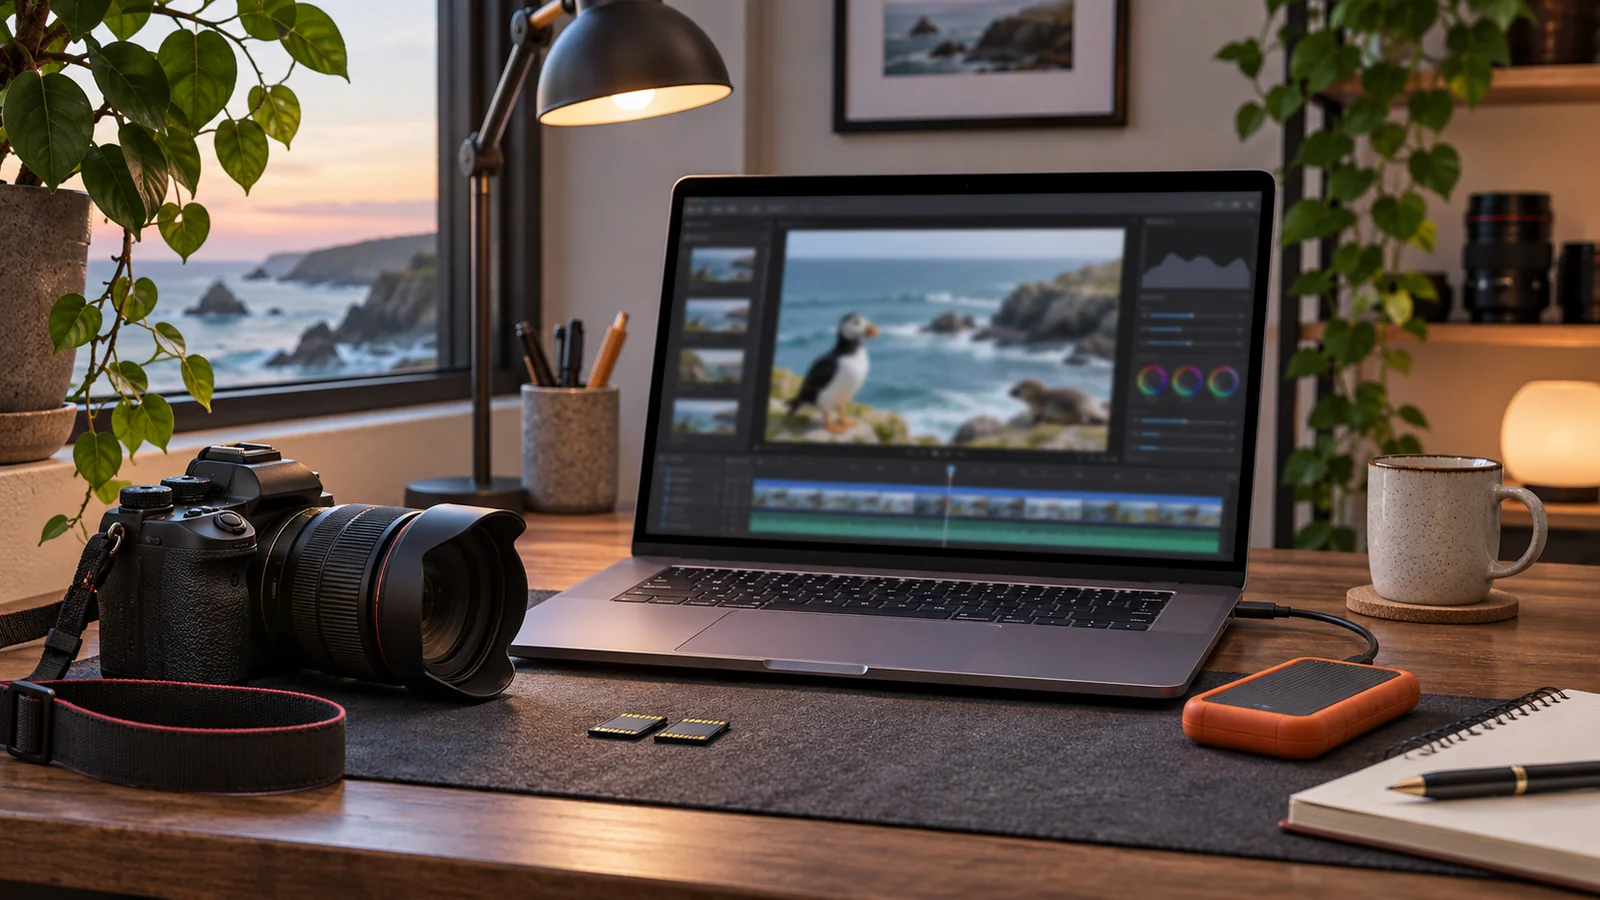
Edit a wildlife photograph to make the encounter easier to see while preserving what happened. A crop, modest exposure adjustment or colour correction can make a photograph clearer. Adding an animal, moving it against a different background or combining separate moments changes what the image shows and calls for a clear disclosure. Keep the original file, write a caption that reflects what you observed and share only the location detail appropriate to the audience. A public photo and a private research submission may need different versions. Start by deciding what you want the image to document.
Keep an original and make an editing copy
Save the unedited file before working on it. The original includes context a cropped image may leave out, such as the water around a whale, other birds nearby or an unobstructed view of the shore. It may also carry capture details that help you check when and where the encounter happened. Make adjustments using an editing copy or a workflow that preserves the original. Store both somewhere you can find later.
Keep a note of the encounter while you remember it. A short entry can record the date, general area, how you observed the animal and what you know about its identification. If the guide made an identification you couldn't verify independently, note that. If you took several photographs in a sequence, mark the order before making a gallery. The order may help you distinguish what happened from what you later inferred.
Choose an intended use before you start editing. A print for your home, an image for a nature competition and a contribution to a research catalogue have different needs. A contest may limit edits that are perfectly acceptable in a clearly labelled creative print. A researcher may want a sharp view of markings and the original file more than a polished composition. Read the recipient's instructions before making irreversible changes. North American Nature Photography Association ethics
Crop without changing the meaning of the scene
A tighter frame can help a viewer find the subject. It can also remove the cues that show how far away the animal was or what else was happening. For example, a cropped whale photograph might appear to show a close encounter when the original was made with a long lens from farther away. If the distance matters to your story, give the caption enough context. A phrase such as “cropped from a telephoto photograph taken from a guided boat” can make the relationship clearer without claiming a distance you didn't measure.
Look at what the crop leaves out. If you trim other animals from the edge, it may be fine to present the result as a portrait of one animal. It would be misleading to use the same crop as evidence that it was alone. If you want to describe the whole encounter, include a wider frame or add the missing context to the caption. This distinction matters when the photograph is being used to identify a group or describe behaviour.
Use straightening and trimming with the same care. A small rotation can make the horizon easier to read. A very tight crop of a tilted frame may remove most of the surroundings and make it harder to tell what you're seeing. Save a wider version, especially when the scene is unusual or you want to be able to explain it later. A pair of pictures often serves both purposes well.
Adjust tones and colour in ways that preserve the subject
Start by asking what is difficult to see. If the body of a whale is very dark, a small shadow adjustment may make its shape easier to recognise. If bright water distracts from a bird, a modest highlight adjustment may help you see the difference between white feathers and the background. Compare your edit with the original. Look for details you unintentionally removed, such as markings or differences in feather colour.
Be careful when you change saturation or contrast. The colours in an image already depend on light, camera settings and the display. A change can give the picture a pleasing mood, but it may also make colours look more distinctive than they were. If the image is meant to help identify an animal, preserve the original appearance as closely as possible and keep the unedited file available. If you want a stylised result for display, describe it as such when the distinction matters.
Noise reduction and sharpening deserve a close look. A strong setting can make a low-detail area look smoother or create edges that appear to be features. Zoom in on the subject after editing, then inspect the image at the size you will share. If a possible marking appears only after sharpening, check the original and other frames before calling it an identifying mark.
Disclose edits that change what was there
An image may look like a direct record even when parts of it came from different sources. If you replace a sky, add an animal or combine frames from separate moments, describe that clearly next to the image. Use the actual change in the disclosure. “Composite combining two photographs taken during the same outing” says more than “edited.” If animals came from different locations or dates, say that. Avoid letting a caption imply that they were present together.
Consider whether removing an object matters to the story. Cleaning up a sensor spot is different from removing a boat that was visible beside an animal. The boat may be important evidence of how the scene looked. If your photograph is meant as a factual record, preserve details relevant to that purpose. If you remove them for an artistic version, keep the original and make the change clear when you present the result. NANPA caption guidance
Treat generative tools with the same question. Does the tool create, remove or move parts of the scene? If it does, decide whether the result still fits the use you had in mind. A generated extension to the background may be acceptable in an illustration with a clear label. It cannot supply evidence about a real sighting. Keep documentary and illustrative exports separate so you can tell them apart later.
Write a caption readers can check against the image
A helpful caption gives the species if known, a sensible geographic description and any context needed to interpret the frame. You might write, “A humpback whale surfacing during a guided trip from Campbell River. Cropped from a wider frame.” If you aren't sure what species you saw, describe the visible feature or use a more general term. If the animal turned and disappeared, say what you saw without inventing why it did so.
Avoid turning two images into a story you cannot verify. A photograph of a bird looking down and a second photograph of it flying away may show two successive moments. They don't establish what it saw or why it moved. Use the caption to separate the observation from your guess. If your guide explained a possible interpretation, attribute it accurately and avoid presenting it as certain.
If you describe the scene for a person who cannot see the photo, keep the alt text focused on what is visible. For example, describe a dark whale back at the surface with forested islands behind it. Put location notes, editing disclosures and uncertainty in the caption or nearby text when they help explain the image. Together they give the viewer enough information without making the alt text carry the whole story.
Share location details with care
Exact coordinates can reveal a nest, a resting area or another sensitive site. Before sharing an image publicly, check whether you need to name the precise location. A regional description may be enough. Look at the image itself as well as any geotag. A distinctive landmark, a map screenshot or a caption with directions can disclose the place even after you remove the location metadata. For a bird near a nest, follow local guidance and avoid drawing a crowd. Audubon ethical bird photography guidance
Keep location information in the private original if it is useful and appropriate. If an authorised reporting or research project requests details, follow its submission instructions. Use a separate public export where appropriate, and check the export settings or file information to see which metadata is included. Do not assume a website will remove coordinates automatically. Keep the complete record and the public version identifiable in your library.
Try a simple review before exporting
Open the original beside the final photograph. Ask whether someone seeing the final version would get a different impression of where the animal was, what else was present or what it was doing. If so, decide whether to revise the edit, publish a wider companion photo or explain the change. Check the caption and location details at the same time. A review before sharing is easier than correcting a misleading description later.
If you're editing a group of images from a trip, compare them for consistency. One close crop beside a wide scene can show both a visible detail and the surrounding context. Make sure the order doesn't suggest events happened differently. For example, if the first image shows a fluke from the end of a sighting and the next shows the initial surfacing, label the sequence if timing matters to the story. Eagle Eye's orca photography location guide
Check the exported file, too
Open the version you intend to publish. A preset may have applied a stronger crop, sharpening or location export setting than you expected. Read the caption beside that file and confirm that the description belongs to the correct frame. If you export a second version for a report, name it so you can distinguish it from the public copy. Keep the unedited sequence available if someone asks for more context. Those habits are especially useful when you have many similar images from the same sighting.
Frequently asked questions
Do I have to disclose every small adjustment?
Check the requirements of the place you're submitting to. For ordinary sharing, focus on changes that affect how someone would interpret the encounter. A small correction is different from combining animals photographed at different times. If the distinction matters to the purpose of the photo, give the viewer a clear explanation.
Is a heavily cropped photograph a problem?
A crop can make an animal easier to see. Keep the wider original, and disclose the crop if it affects what people would infer about distance or context. For identification work, ask the project what it wants. A crop that looks good on a phone may omit something useful to the reviewer.
What should I do if my photo shows a nest location?
Consider whether you need to share the picture or can use one that gives less detail about the site. Check the metadata and any visible landmarks before posting. If the image is for a relevant conservation project, follow its instructions for how to provide location details privately.
What if I don't know whether an edit has changed a marking?
Compare it with the original and any other frame that shows the same area. If you're still unsure, leave the marking or identification unconfirmed. Share the original when a researcher requests it and explain what you think you can see.
On a wildlife outing, take one wider photograph you can keep as a record before trying a tight composition. Back on shore, decide what the picture needs to show and write a caption you can stand behind. Campbell River wildlife tour